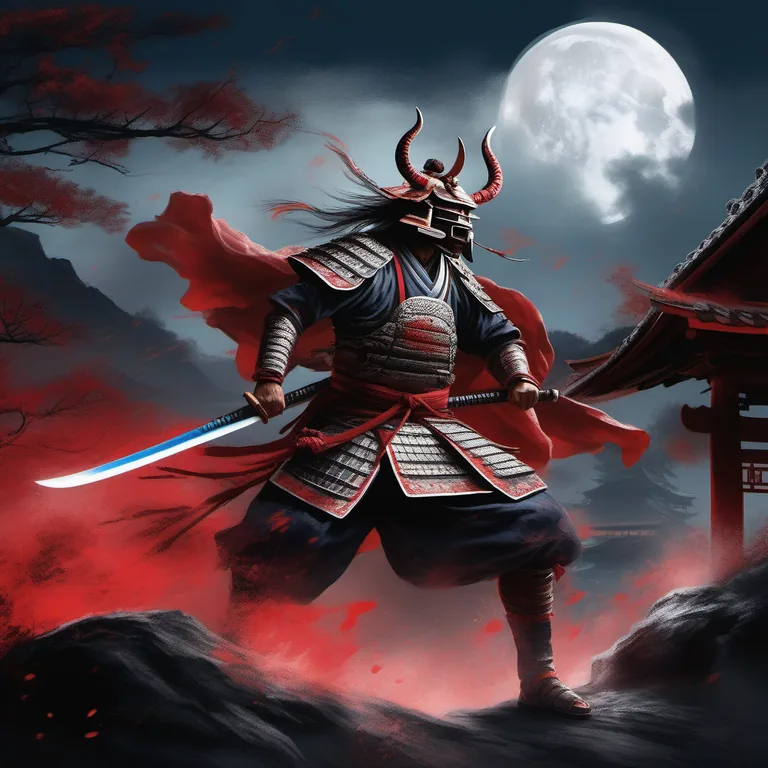
- Minamoto no Yoshitsune is the ultimate final boss, encountered at the end of "The Clash At Rendaino".
- Three phases test every combat skill: parrying, aerial dodging, Oni Awakening timing.
- Recommended Level: 25+. Carnage build required for the True Onimusha trophy.
- Phase 1 is ground duels; Phase 2 adds aerial projectiles and teleports; Phase 3 unleashes Genma energy and illusion clones.
Quick Attributes
| Attribute | Value |
|---|---|
| Type | Final Boss |
| Mission | The Clash At Rendaino |
| Recommended Level | 25+ |
| Phases | 3 |
| Difficulty (Carnage) | 10 / 10 |
| Element | Genma (mixed: sword + magic + spectral) |
| Enemy Faction | Genma Lord |
| Trophy (Carnage clear) | True Onimusha |
| Trophy (first clear) | Genma Lord |
| Soul Reward | 5000 yellow souls |
1. Boss Overview
Minamoto no Yoshitsune is the fallen samurai general who, in the lore of Onimusha: Way of the Sword, controls Hell itself and unleashes the Genma upon Japan. He is the climactic encounter of the main story and the most demanding single fight in the base game. Every combat system the player has invested in — perfect parry timing, mid-air Focus Evade, Issen counter execution, and Oni Awakening windows — is stress-tested in this three-phase duel.
Yoshitsune blends traditional samurai swordsmanship with Genma-infused magic, forcing the player to read both physical telegraphs and supernatural cues. Phase 1 teaches discipline; Phase 2 punishes over-commitment; Phase 3 is the final exam, where any missed parry or mistimed Awakening can mean a full reset.
2. Phase 1 — Ground Duels & Quick Strikes
Phase 1 is a duel between warriors. Yoshitsune closes distance with close-range sword combos that chain overhead slashes into horizontal sweeps. His stamina gauge drains noticeably with each perfect parry you land.
- Close-range sword combos. He favors high-low-high sequences. Hold a defensive parry stance and wait for the third beat to confirm.
- Deflect with perfect parries. Standard parries stop his aggression but do not drain his stamina fast enough. Perfect parries (parry at the very last frame of the tell) are mandatory for a clean Phase 1.
- Drain his stamina gauge quickly. Three to four perfect parries will break his guard and open a long Issen window. Punish this window hard — it is the cleanest damage opportunity in Phase 1.
3. Phase 2 — Aerial Projectiles & Teleports
At around 60% HP, Yoshitsune takes to the air. He chains ranged magic strikes from mid-air while teleporting across the arena, forcing tight ground dodges and patient defense. Punishing him becomes a matter of timing, not reaction.
- Ranged magic from mid-air. Three-to-five projectile volleys track your position. Side-step between volleys; do not commit to a Focus Evade unless the volley is homing.
- Teleport repositioning. He vanishes after each volley and reappears with a downward strike. Lock-on tracking can break if the teleport is far — unlock and re-lock when he reappears.
- Punish him as he drops back down. The landing recovery is your Issen window in Phase 2. Charge your Issen during his final airborne cast and release on the landing frame.
4. Phase 3 — Genma Unleashed & Illusion Clones
At around 30% HP, Yoshitsune's Genma corruption fully manifests. He releases spectral energy waves and summons phantom duplicates of himself that mirror his attacks. This phase is short but extremely lethal — and it is the critical window for your Oni Awakening form.
- Spectral energy waves. Wide, sweeping AoE attacks that hit roughly half the arena. Jump on the wave's release frame to clear it cleanly.
- Phantom duplicates. Two illusion clones appear alongside the real Yoshitsune. Only the real one takes stamina damage on parry — watch for the clone whose eyes glow gold.
- Critical window for Oni Awakening. Trigger your Oni Awakening form as soon as Phase 3 begins. The i-frames and damage boost are designed to burn through his last 30% in a single activation.
- Smash through his guard. In Awakening, two fully charged Heavy attacks will break his stance. Follow immediately with an Issen to end the fight.
5. Recommended Build (Carnage)
This build is the verified loadout for clearing Yoshitsune on Carnage difficulty. It maximizes i-frame coverage, stamina damage, and survivability across all three phases.
- Charm of Awakening (max) — extends Oni Awakening duration
- Charm of Oni Power (max) — increases damage during Awakening
- Fencer's Strength Charm (max) — boosts parry follow-up damage
- Default Hozuki Pouch (max) — passive HP regeneration between phases
- Heavy Restorative consumables — for emergency heals during Phase 2 volleys
- Amulet of Introspection — shortens Oni Awakening cooldown
- Stimulants — burst damage windows when his stamina breaks
- Sun-Dried Hozuki — large one-shot heal reserved for Phase 3 entry
- Greater Defense Talisman — damage reduction for Phase 2 magic volleys
- Greater Might Talisman — overall attack boost for clean Phase 1 kills
6. Strategy Tips
- Save consumables for this fight. Yoshitsune is the single biggest soul-sink in the game if you die repeatedly. Stockpiling before the encounter is non-optional.
- Equip Insight Amulet for the wider Issen window — especially recommended in Boss Rematch mode, where his Phase 2 windows are tighter than in the story encounter.
- Manage your Awakening gauge carefully. If you burn it in Phase 1 or 2, Phase 3 becomes a survival check with no recovery tool. Hold Awakening for Phase 3 entry.
- Focus Evade (unlocked via the Focused Dodge trophy path) is your safest tool against Phase 2 projectile volleys.
- Chain Issen into a Heavy Restorative input to recover HP between phases without losing tempo.
7. Rewards
Defeating Minamoto no Yoshitsune for the first time grants:
- 5000 yellow souls — the largest single boss soul payout in the game
- Trophy: Genma Lord (Bronze) — story clear
- Trophy: True Onimusha (Gold/Silver) — awarded for completing the game on Carnage
- Yoshitsune's Memory — key story item + Genma Note (lore collectible, one of the 23 total)
Sources: Retrogems Trophy Guide (phase structure, build recommendations), PowerPyx Carnage Difficulty Boss Guide (Carnage verification).