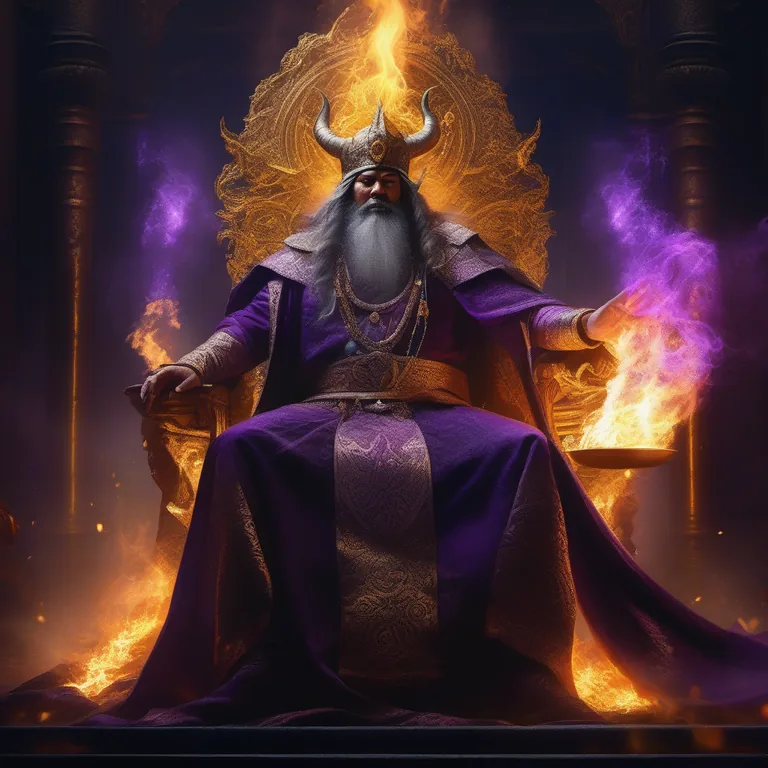
- Dokyo is an illusionist with two forms. First as Greater Nue in the imperial gardens (Dokyo's Fixation trophy), then as himself in the final showdown (End of Madness trophy).
- Both fights test your ability to distinguish real attacks from illusion duplicates.
- The Greater Nue form favors aerial tracking and electric AoE; the Dokyo form favors close-range illusions and phantom strikes.
Quick Attributes
| Attribute | Value |
|---|---|
| Type | Boss (Story, Two Forms) |
| Form 1 | Greater Nue |
| Form 1 Location | Imperial Gardens |
| Form 1 Trophy | Dokyo's Fixation (Bronze) |
| Form 1 Difficulty | Hard |
| Form 2 | Dokyo |
| Form 2 Location | Final showdown |
| Form 2 Trophy | End of Madness (Bronze) |
| Form 2 Difficulty | Very Hard |
| Soul Reward | 2000 yellow souls |
1. Boss Overview
Dokyo is one of the most deceptive boss designs in Onimusha: Way of the Sword. He uses Genma illusion magic to assume two distinct forms: first the Greater Nue in the imperial gardens, then his true human-shape illusionist in the final showdown. Both encounters reward players who learn to read visual cues that distinguish real attacks from phantom duplicates.
His kit blends traditional spell-caster patterns with shapeshifter misdirection. Players who button-mash will hit illusions and waste Issen windows; players who read attack timing and lock-on behavior will break his guard quickly.
2. Two Forms
Form 1 — Greater Nue (Dokyo's Fixation)
Dokyo's first appearance is as a Greater Nue — a large bird-beast hybrid with electric attacks and a tail-shield mechanic. The fight takes place in the imperial gardens. The Dokyo's Fixation trophy unlocks for clearing this form.
- Trophy unlocked: Dokyo's Fixation (Bronze)
- Arena: Imperial Gardens — wide open with hedges that can be used for cover.
- Recommended approach: similar to the standard Nue fight (see Nue boss guide), but with extra teleportation mixups.
Form 2 — Dokyo (End of Madness)
In the final showdown, Dokyo assumes his true illusionist form. He loses the Greater Nue body but gains access to illusion clones, phantom strikes, and teleport dashes. The End of Madness trophy unlocks for clearing this form.
- Trophy unlocked: End of Madness (Bronze)
- Arena: Confined interior space — positioning matters more than arena size.
- Recommended approach: distinguish real from illusion by attack timing.
3. Attack Patterns
Greater Nue Form
| Attack | Tell | Best Answer |
|---|---|---|
| Electric Projectile Volley | Wings spread, sparks gather | Deflect back, or side-step lateral |
| Tail Shield (defensive) | Tail wraps forward, glows | Stamina-break the shield before attacking |
| Aerial Teleport | Body vanishes with spark trail | Unlock and re-lock when he reappears |
| Ground Slam AoE | Body lifts, comes down with electric burst | Focus Evade lateral, punish recovery |
| Storm Field (HP < 30%) | Arena-wide electric field | Oni Awakening i-frames or chain Focus Evades |
Dokyo Form
| Attack | Tell | Best Answer |
|---|---|---|
| Illusion Clones | Two phantom duplicates appear | Watch which one glows gold — that's the real one |
| Phantom Strike | A delayed-afterimage strike | Parry the second hit, not the first |
| Teleport Dash | Body dissolves into smoke | Hold position; punish the reappearance |
| Mirror Image (HP < 50%) | Full phantom duplicate attacks in sync | Deflect only the real one's hits — clones deal no stamina damage |
| Madness Barrage (HP < 25%) | Rapid 5-hit combo with one delayed strike | Parry 1st, 2nd, 4th; dodge the delayed 3rd and 5th |
4. Strategy
Greater Nue Form
- Don't lock on camera. Similar to the twin-Nue fight, manual camera control helps you track his aerial teleports without losing the arena layout.
- Stamina-break the tail shield first. Most of his attack windows are only safe to punish after the tail drops.
- Reserve Oni Awakening for the Storm Field phase. The arena-wide electric field at 30% HP is the highest-damage moment of the fight.
Dokyo Form
- Distinguish real from illusion by attack timing. Illusion duplicates strike a half-beat earlier than the real Dokyo. The real one always commits the heaviest hit.
- Deflect only real attacks. Clones deal chip damage but no stamina damage on parry. Waste Issen on a clone and you will not break his guard.
- Save Issen for the Mirror Image phase. At 50% HP, his clone army multiplies — clean Issen windows become scarce.
5. Recommended Build
- Tier 3 Parry Window+ — mandatory for the Madness Barrage 5-hit combo
- Issen Mastery Tier 2+ — for clean execution when you confirm the real Dokyo
- Fencer's Strength Charm — boosts parry follow-up damage
- Greater Defense Talisman — chip damage reduction during the Storm Field
- Heavy Restorative + Sun-Dried Hozuki — emergency heals
6. Rewards
Defeating Dokyo grants:
- 2000 yellow souls (combined across both forms)
- Dokyo's Robe (armor) — wearable after the final showdown
- Trophy: Dokyo's Fixation (Bronze) — Greater Nue form
- Trophy: End of Madness (Bronze) — Dokyo form
Sources: Retrogems Trophy Guide (trophy names, form structure). Specific parry frame data will be refined after post-launch community verification.