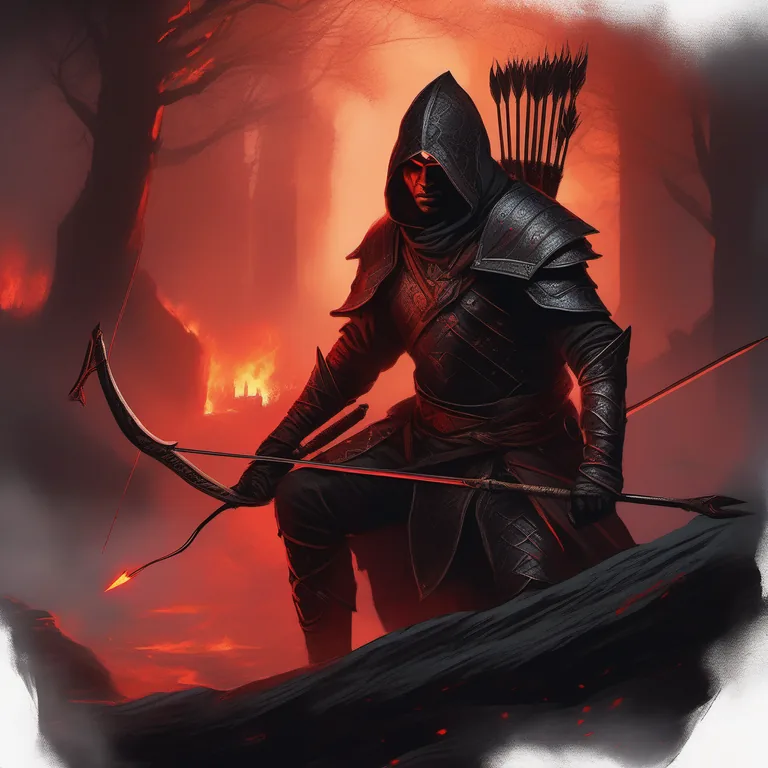
- Genma Archers are ranged enemies that pressure from elevated positions. They have 3 attack patterns, all of which can be parried (including arrows).
- Always kill Archers first in group fights - their chip damage adds up.
- Recommended weapon: Twin Fangs (fast weapons to close distance).
Quick Attributes
| Attribute | Value |
|---|---|
| Type | Ranged Enemy |
| Health | ~120 HP |
| Parry Difficulty | Medium |
| Soul Reward | 60 yellow souls |
| Weakness | Parry arrows back at them, fast weapons (Twin Fangs) |
| Resistance | Long range (can't be hit by short weapons without closing) |
Last verified: TBD - to be confirmed at launch
1. Enemy Overview
The Genma Archer is a humanoid Genma equipped with a longbow. They appear on rooftops, in elevated ruins, and behind barricades - always at range, always pressuring the player between melee fights.
Archers exist to teach the player to manage multiple threat types simultaneously. A single arrow chip is small, but ignored arrows will drain your health faster than any boss. Every group encounter with an Archer should start by closing the distance and killing it first.
2. Attack Patterns
| Attack | Tell | Parry Window | Counter |
|---|---|---|---|
| Single Shot | Draw and release | 8 frames | L1/LB (returns arrow) |
| Charged Shot (Hold) | Hold bow longer, blue arrow | 10 frames | L1/LB (harder) |
| Multi-Shot (Elite only) | 3 arrows in quick succession | 5 frames each | L1/LB x3 |
3. Parry Windows
Arrow parrying has the widest window in the entire game - approximately 10 frames at mid-range, scaling up to 12 frames at long range. This makes Archers the second-best parry training target after Marcellus (Brutes are still the #1 due to spawn density).
The catch: timing feels different. You must watch for the release frame, not the impact frame. The slow-motion visual cue kicks in on release - practice until it feels instinctive.
4. Arrow Parry Strategy
Parrying an arrow returns it to the Archer for 2x normal damage. Three arrow parries in a row will stagger an Archer long enough to close distance and land a 4-hit punish combo.
- Hold L1/LB while moving - your character will auto-parry any incoming arrow while the button is held.
- Aim for the Charged Shot - the blue arrow does 3x chip damage, so parrying it back is worth 6x damage on the Archer.
- Time the release - parry the arrow and immediately press R1 to return fire for max efficiency.
Group Priority
Always kill Archers first in group encounters. Arrow parry back is ideal, but if you are outnumbered by melee, sprint to close distance and use a fast weapon (Twin Fangs) for the rush-down. Letting an Archer live past the first melee kill almost always results in a death.
5. Group Priority
The cardinal rule: Archers die first.
- Solo Archer encounter: Parry the first arrow back, dash in, finish with a 3-hit combo.
- Archer + Brutes: Parry one arrow for stagger, dash past the Brutes to reach the Archer, kill it, then deal with the Brutes from behind.
- Archer + Brutes + Archer: Focus one Archer first. Once both are down, the encounter becomes a normal Brute fight.
6. Elemental Matchup
Archers have no elemental weaknesses or resistances. They take normal damage from all elements. However, they are weak to fast attacks - the Twin Fangs dual-blade weapon can reach them and kill them in 4 hits before they fire a third shot.
7. Soul Farming
Archers drop a respectable 60 yellow souls, but they are slow to kill due to their range and arrows. They are not the optimal soul farming target - leave them alive in Brute-heavy areas to maximize Brute clears, and only kill them when they block your farming route.